How to prepare Camohide for use with your trail camera
|
Step 1
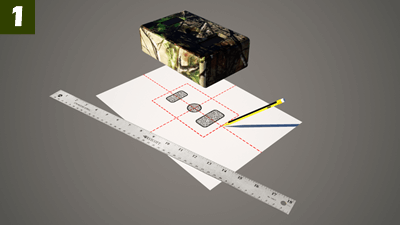
Create a paper template or download and print a prepared template from our downloads section for your camera brand and model. Be carefull when creating a paper template, center align the trail camera body on the paper and not the lense opening since many trail camera models have the lense offset from the center of the trail camera body |
 |
Step 2
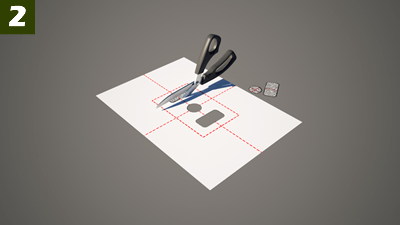
Use a scissor to cut the template hole openings to be traced on the CamoHide sheet |
 |
Step 3
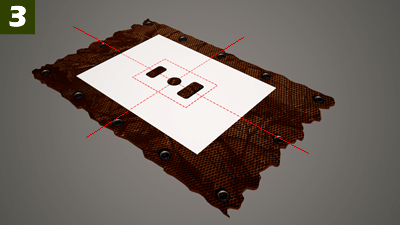
Center align the paper template with the CamoHide sheet in a portrait position. |
 |
Step 4
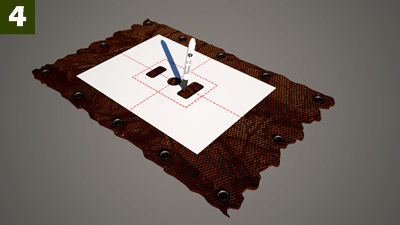
Use a permanent marker or "sharpie" to trace the hole openings onto the CamoHide sheet. |
 |
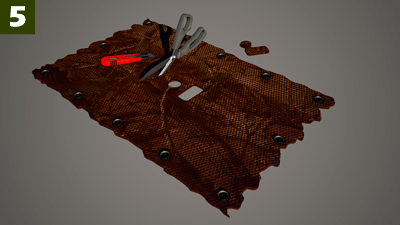
Step 5
Use either a utility knife or a scissor to cut the hole openings in the CamoHide sheet. Attempt to cut in an irregular pattern as not to leave a smooth and straight cut line. We usually use a pinking or "zig zag" scissor to cut holes and trim any straight edges. |
 |
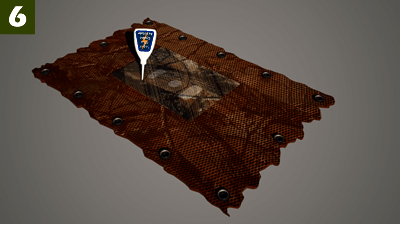
Step 6 (Optional)
This is an optional modification. Supplied with the CamoHide product you will find a small piece of camouflage mesh fabric. This fabric is intended to be placed over the holes cut during the previous step and functions to hide any glare from the motion detector, flash and also the camera lense. This modification greatly improves the camouflage and concealment of your camera
Test your camera prior to applying this modification by wrapping the supplied mesh fabric over the trail camera and measure the following:
- Motion detection angle and distance loss
- Flash brightness loss(must be tested at night)
- Image quality loss(only recommended if you intend to use the camera for a security application)
If you be satisfied with the test use a cyanoacrylate glue and affix the camouflage mesh fabric over the holes, cut the mesh from areas where not required. |
 |
| |
|
How to camouflage and conceal your trail camera with Camohide
|
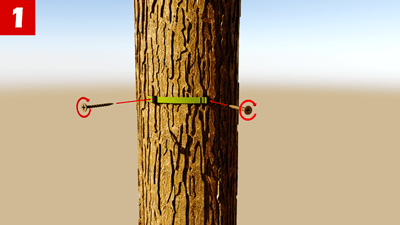
Step 1
Place the supplied 30cm strap on the tree where you wish to setup your trail camera and fasten the strap mounting gear with the screws provided. (Note: Short straps were only introduced and supplied from 01/03/2018) |
 |
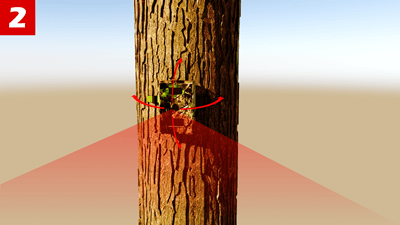
Step 2
Open the cam buckle and mount the camera on the strap. Adjust your trail camera so that it points in the desired direction. |
 |
Step 3
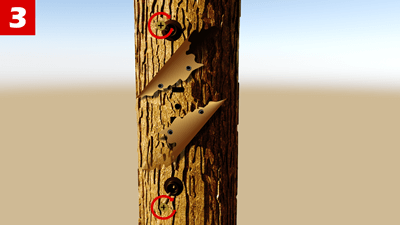
Place the CamoHide camouflage sheet over the camera making sure to align the holes correctly with the camera lense, motion detector and flash. Determine the position for the top centre press stud and fasten against the tree with a screw, Fasten the Camohide to the press stud and repeat the process for the bottom centre press stud |
 |
Step 4
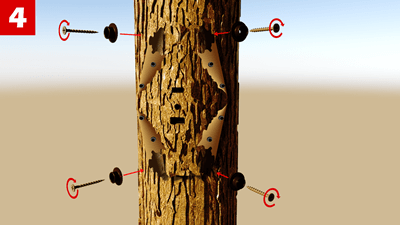
Determine the positions for the corner press studs and fasten against the tree with the screws provided. Ensure not to over strech the CamoHide and that the holes in the Camohide remains aligned with the trail camera. |
 |
Step 5
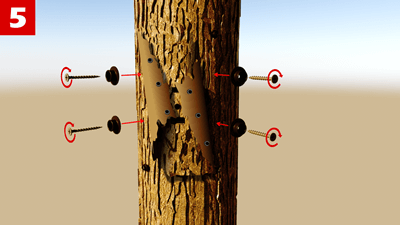
Repeat the process for the remaining press studs. |
 |
Step 6
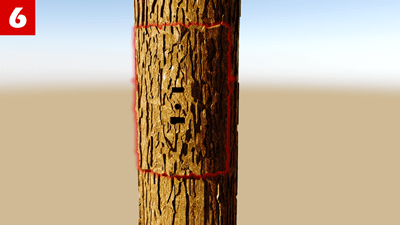
Complete the installation by adjusting the CamoHide sheet and ensuring that the edge does not cast too much shadow and blends with the tree trunk. |
 |
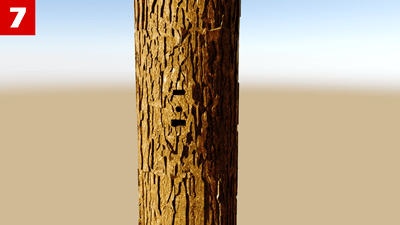
Step 7
Stand back, admire your accomplishment and ensure that the camouflage is as per your expectation and mark the position of your camera on a using a GPS |
 |
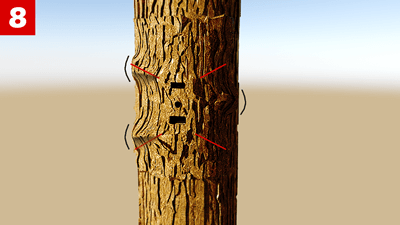
Step 8 (Optional, if required)
Some folds may appear on the sides when stretching CamoHide over your trail camera. It may transpire as a single buldging fold or two folds per side. This usualy happens due to the the diameter of a small tree trunk and the size of the camera being used. To eliminate these folds we reccommend you cut four diagonal slits(as per red marks on the image) to release the fold tension and adjust the mounting studs accordingly. |
 |